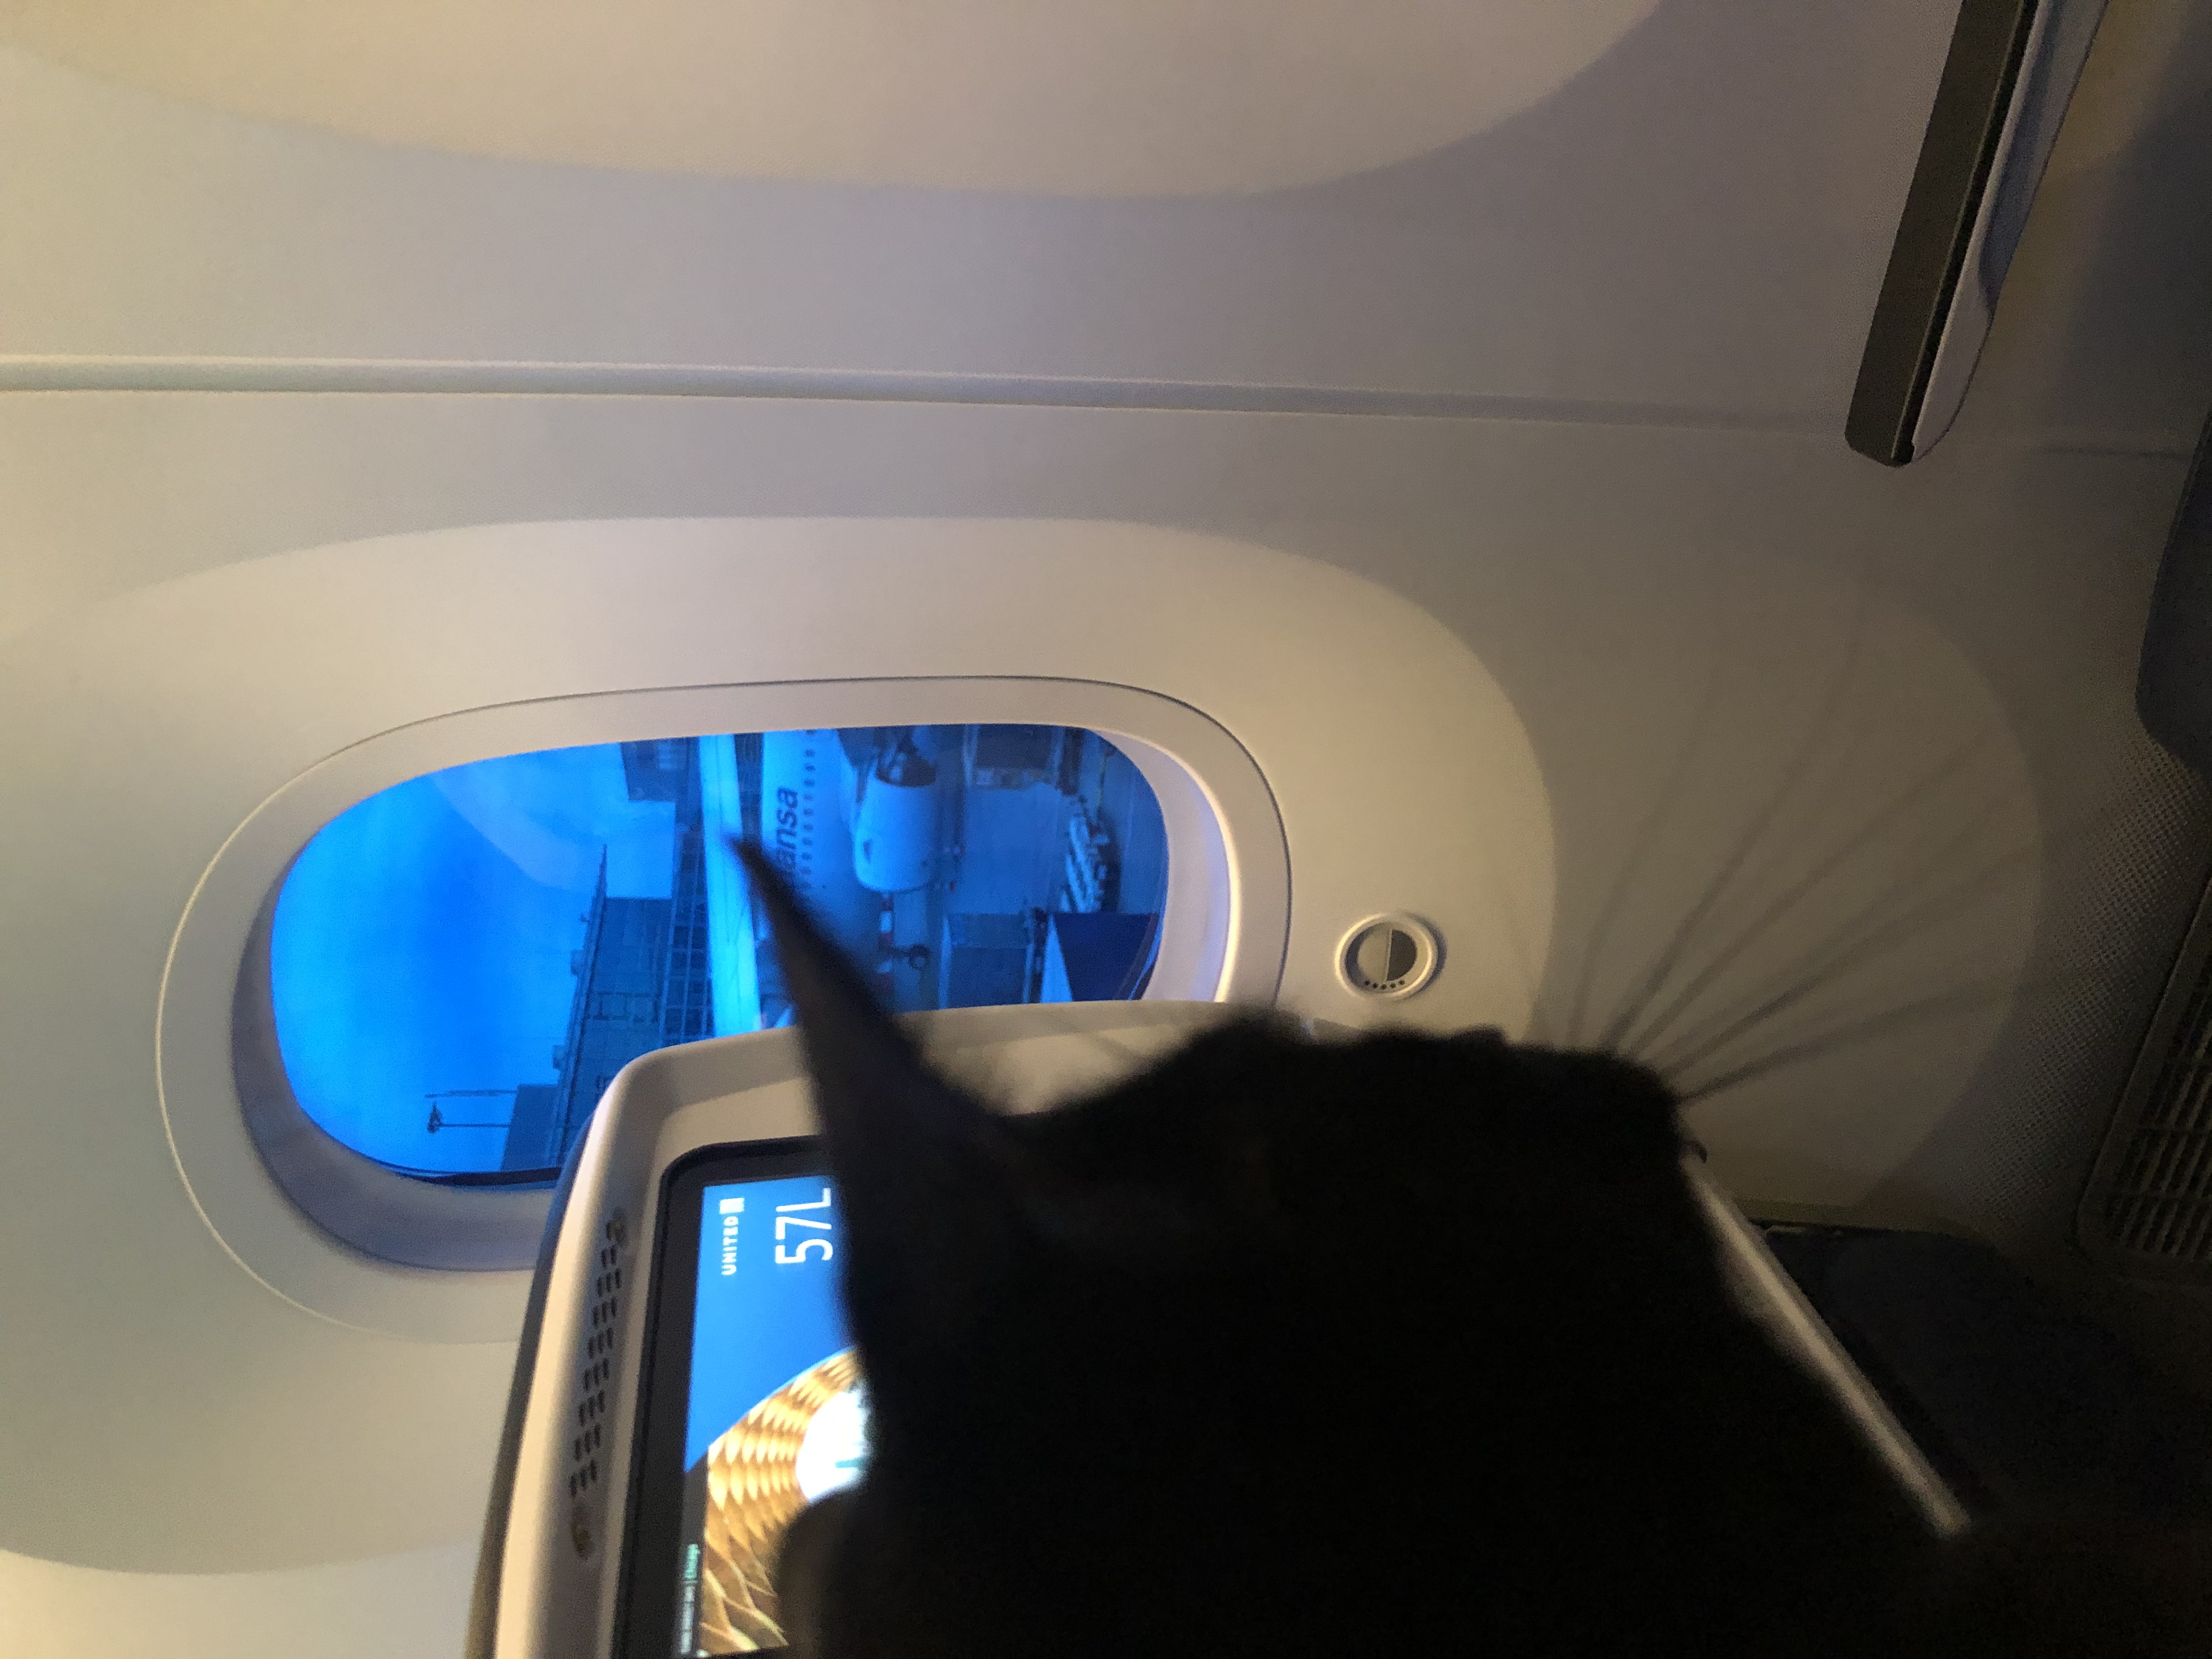
See my post “How I Became a Private English Tutor in Barcelona” for a more in-depth explanation on why I decided to move my cat and I to Spain. The short story; I fell in love while on a backpacking trip, came home, signed up for a TEFL course, bought a ticket back to Barcelona, and after arriving in the country, became a private English tutor.
- Where Are You Taking Your Cat?
- Step 1: Check The Pet Import Policies For The Country
- Step 2: Take Pet to a USDA International Pet Travel Credited Veterinarian
- Step 3: Finding An Airline
- Step 4: Buying a Flight for Your Pet
- Step 5: Health Certificate and USDA Approval
- Step 6: Time to Fly
- Step 7: Arriving at Your Destination
- Total Cost of Pet Flight Travel
- Supplies Needed for Your Pet During Flight Travel
My Beginning:
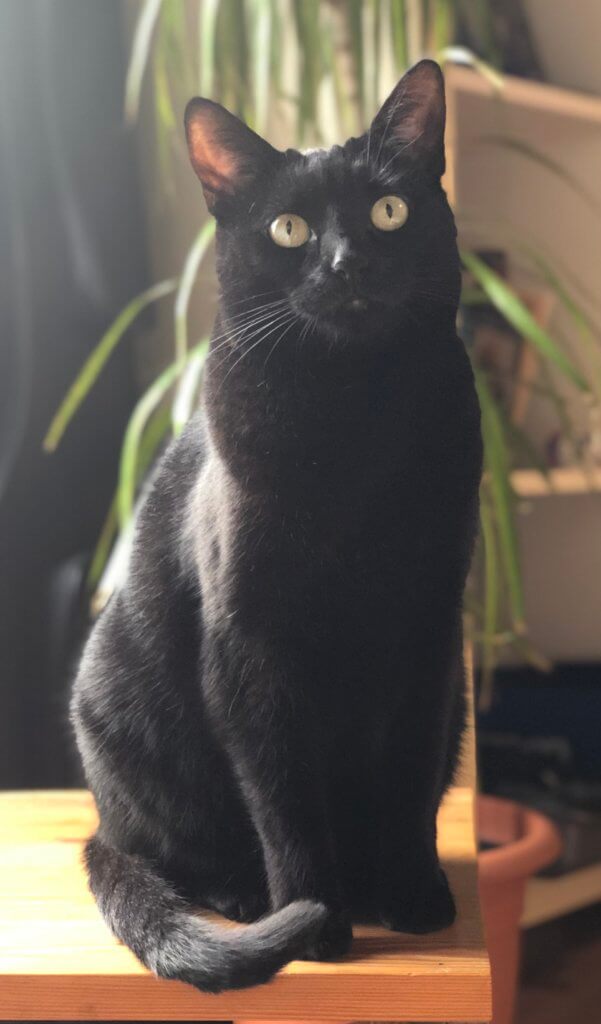
This is Noel.
She’s the light of my life and the best damn cat in the world.
She sure is a curious cat. She’s always jumping at the opportunity to get outside, feel the fresh air, and lay in the grass.
My college roommate and I rescued her from an animal shelter about three days before Christmas in 2017.
After a long day away from home, she immediately needs love and cuddles : )
When I leave for vacation, she’s visibly upset with me when I get home. Though that lasts for an hour before she’s begging for affection again.
As was the case when I came home from my 6-week backpacking trip around Europe. In no way was I ready for my trip to be over when I boarded my flight back home, but I sure as hell was ready to see my cat again.
At this point, I was already cooking up ways on how I could go back to Europe for an extended period.
Eventually, I came to the conclusion that I would get my TEFL certification and move to Barcelona to tutor students in English.
I’d stay with my girlfriend, ride out my three-month tourist visa, and determine my long-term plan after getting a feel for international life.
And of course, I needed Noel with me.
Where Are You Taking Your Cat?
I was going to Barcelona, Spain.
This was an eight-hour direct flight from my departing airport. The airport was a two-hour drive, but I wanted to be three-hours early since it was international.
In total: 13-hours of traveling for Noel and me.
Step 1:
Check The Pet Import Policies For The Country
Some EU countries are very strict with their pet import policies. For instance, if you were to take your animal into/through Ireland, they would have to be quarantined at a facility for an amount of time before being released back to you (and yes, this was before COVID).
I learned all the information on pettravel.com (while double-checking with other websites) and my vet.
Spain was simple and straightforward.
Noel needed to have a (1) a microchip, (2) a rabies vaccine, (3) health certificate, and (4) entered through a specific airport.
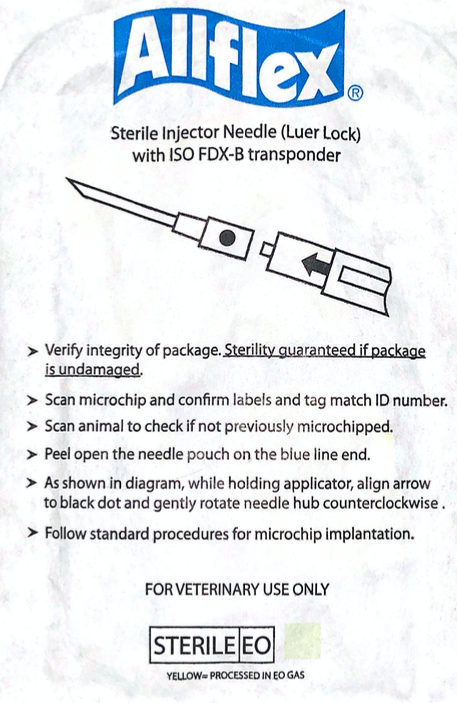
(1) A Microchip
“…your pet microchipped with an ISO 11784/11785 compliant 15 digit pet microchip.”
– PetTravel.com
Noel needed to be microchipped.
Fortunately, this was done at the animal shelter where I rescued her. The microchip hadn’t expired yet, so this part was already done!
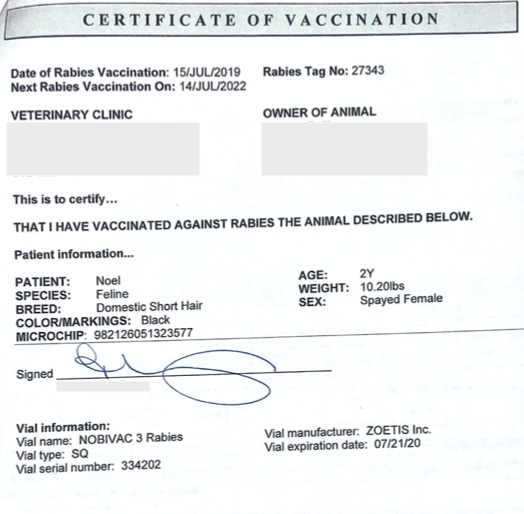
(2) A Rabies Vaccination
“The first rabies vaccination after the microchip is implanted is called the primary vaccination and it should be a one year vaccine unless manufacturer specifications permit its use as a primary vaccination.”
– PetTravel.com
This was another thing I didn’t have to worry about. In a previous vet visit earlier that July, Noel had an updated rabies shot.
$35
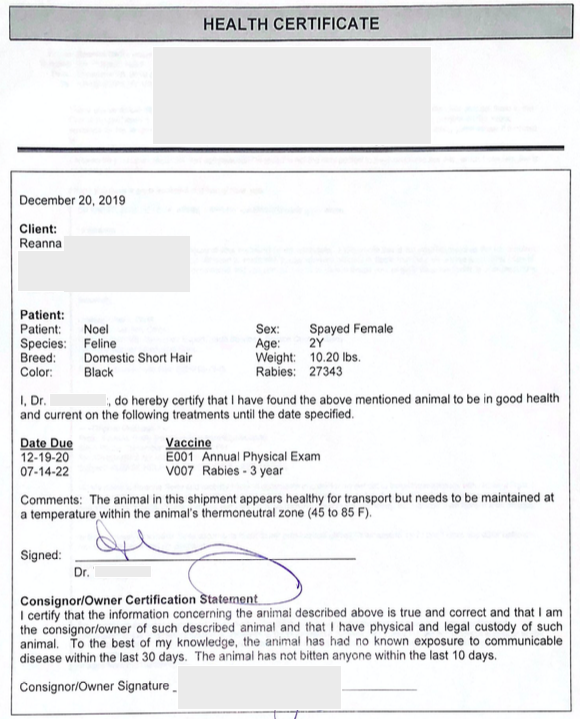
(3) A Health Certificate
A licensed veterinarian in the originating country must complete the non-commercial EU health certificate for Spain within 10 days of travel.
-PetTravel.com
This health exam needs to be administered 10 days within flight time.
I strongly recommend you make this appointment 9-10 days exactly.
It will save you stress in the days until your flight. Not to mention that there’s certain paperwork given to you at this appointment. You’ll need these in order to mail them to the USDA and then they’ll be mailed back to you. This will qualify your animal to enter Spain (or said country).
Later on in this post, I’ll tell you my experience with this paperwork. Here’s the short story: it was a nightmare.
As I said, set your vet date 9-10 days exactly.
$75
(4) Enter Through Specific Spanish Airports
“Accompanied pets entering Spain by air from non-EU countries must do so at Border Inspection Posts at international airports in Barcelona, Madrid, Malaga, Tenerife Sur or Valencia.” – PetTravel.com
Since Barcelona was on this list, I had no worries.
Step 2:
Take Pet to a USDA International Pet Travel Credited Veterinarian
The vet that you receive the health certificate form from must be accredited by the USDA as a veterinary that can give consent on international pet travel. If your vet does not have this accreditation then you must find one that does in order to complete the process.
Once I knew for a fact I was going to Barcelona and Noel was coming with me, I scheduled an appointment with her vet.
I told her about my plan to travel with Noel and asked her what steps I needed to take.
Luckily, Noel’s primary veterinarian was already a USDA-accredited vet.
She told me exactly what to do, exactly when to do it.
She told me to call and schedule an appointment 10 days before my flight once I knew my date.
At this appointment, explain to your vet where you will be traveling, how you will get there, how long you’ll be there for, discuss how much the pet costs will be, and any other questions you may have.
Your vet should explain the procedure to move forward (if your pet can qualify). They may also explain to you any medication they recommend to give the animal before take off.
Step 3:
Finding an Airline
Once you know your pet is able to fly and you have a veterinarian that will help you in the process, call various airlines and learn their pet travel policy.
This was a bit of a juggle.
Buying a cheap flight is a gamble; you could watch the prices steadily decrease day by day and then randomly it’ll increase a couple hundred overnight. The same goes with travel time; there could be tons of direct flights one day and then a ten-hour layover the next.
A couple times a week for over a month I was checking flight prices and travel times. I watched them rise, fall, rise again, and fall again.
As I was doing this, I was making note of the airlines.
Always check out the airline’s pet policies on their websites, but ultimately you’ll want to call and confirm.
Most airlines have a limit on how many in-cabin pets are available per flight. Some airlines only offer pet travel with their services; i.e. in a holding cabin somewhere else on the flight. Other airlines don’t allow international pet travel at all.
All airlines have regulations for in-cabin pets based on the size, weight, age, and breed of the animal.
My top priority in finding an airline was based on if Noel could be with me during the flight. I was not comfortable being separated from her.
For every airline I found with in-cabin pet options, she fit the requirements; two-year-old, domestic short-haired cat, weighing 10 lbs.
Step 4:
Buying a Flight for Your Pet
At this point, you should be cross-referencing flights that are in your time and price range with those who have international pet travel.
Once you find something that matches everything you want (price, travel time, date of travel, location, in-cabin, or holding crate), call the airline and make sure there are still spots open for your pet. If yes, buy the flight ticket right then and there.
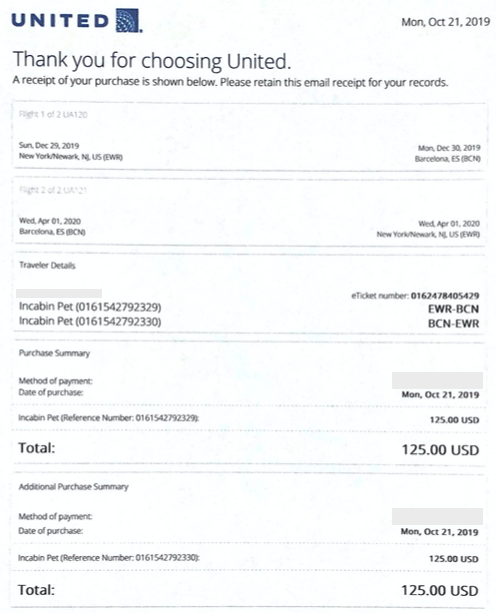
When I found my flight (United Airways, direct eight-hour flight, $783.15), I called the airline to confirm the pet limit for that flight’s in-cabin pets were not taken. It wasn’t.
I hung up, purchased the ticket online, and then called back to purchase Noel’s ticket through the representative. They attached Noel’s ticket to mine and I got an email confirmation.
She required two tickets just like me, one for her departure and one for her return.
$250 in total.
Personally, I think it’s total BS that a pet’s ticket costs $125 per flight, but that’s just me.
Once you secure your flight, make an appointment with your vet for their health certificate 10 days before the flight.
Step 5:
Health Certificate and USDA Approval
Oh yes, my biggest nightmare in this whole process. At least for me, hopefully not for you.
So it’s the day for your pet’s health certificate.
This will simply be a routine checkup. At the end of it, your vet will give you a paper stating that they deem your animal in good health, make note of its’ vaccines, and sign off on it.
If you agree to medication for your animal, you’ll receive this as well. Noel’s mediation was a thick liquid that needed to be kept cold. I gave it to her by syringing it in her mouth. If I’m being honest, I think it did more harm than good and I’ll probably pass on it next time.
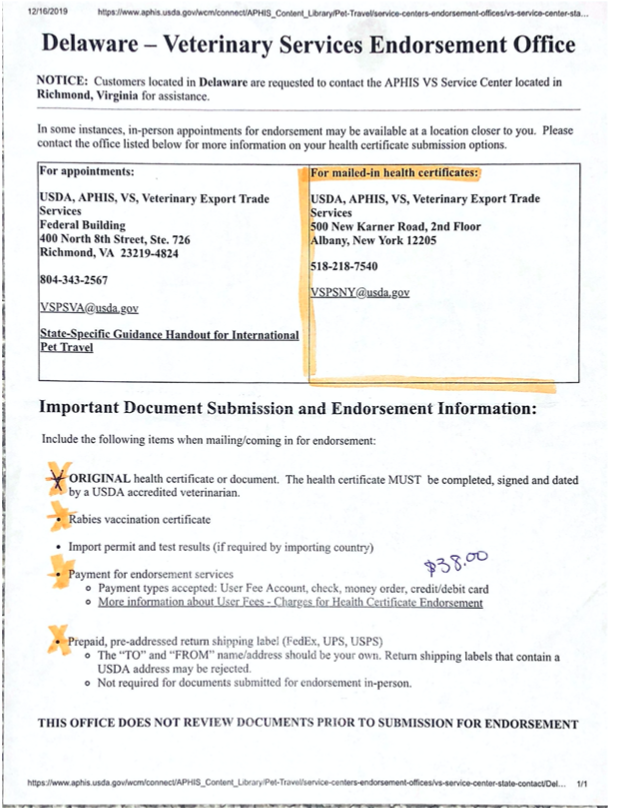
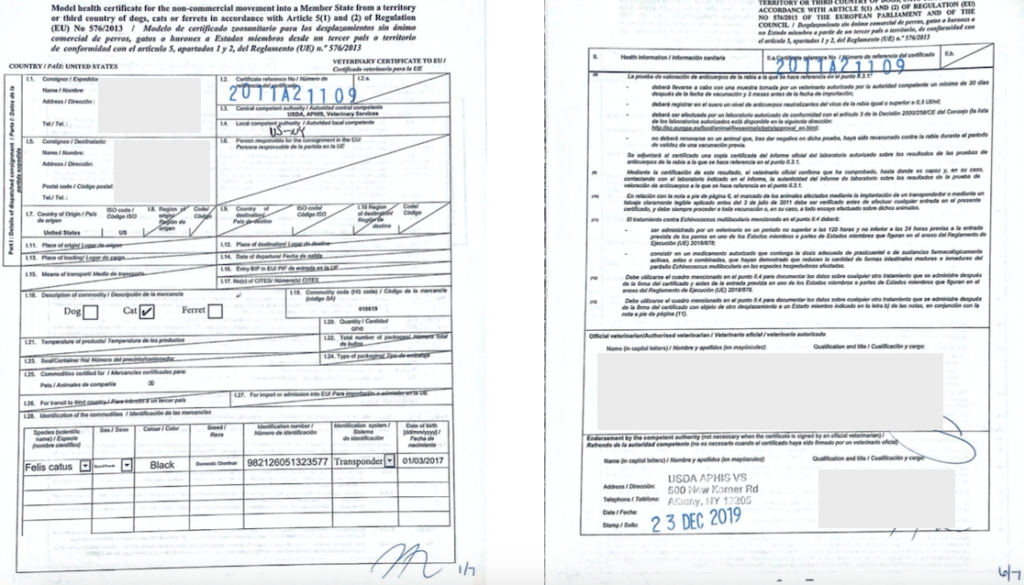
They will then give you a document with long, wordy pages. This paperwork needs to be mailed to the USDA, signed, then mailed back to you before your flight. You’ll need this for your pet’s immigration!
Essentially, you write the address of the USDA on the “main” envelope, then put the documents and another envelope with your address inside it. This way the USDA can send the paperwork back to you, now with their signature on it.
This is why it’s important to schedule your heath certificate appointment on that 9th or 10th day. This part takes time. At this point, your animal’s “passport” is in the hands of the post office.
I recommend purchasing the fastest shipment for both envelopes. That way you can get this document back as soon as possible.
To the left are the directions for what to include in the USDA’s envelope.
Below is the official paperwork signed by both the vet and USDA.
So here’s my horror story with this process:
Noel’s health appointment was on December 20th. Our flight was on December 30th.
Essentially, my paperwork was traveling through US mail during the peak holiday season.
Upon leaving the vet with my paperwork, I immediately went to the post office and shipped it out as priority mail.
Days passed, Christmas passed, a week passed, still no envelope in my mailbox.
I called my vet, but the power was out of her hands. That document needed to come from the USDA, signed by the USDA.
I went to the post office directly. Twice. Nothing.
The Friday before my Sunday flight I tried to call the USDA, they were closed after 5pm until Monday. Looked at my phone, it was 5:05.
I ended up sending a very frantic email to USDA explaining my situation. By some grace, someone responded and sent me a scan of the signed paperwork. They informed me though, that it was not valid and the Spanish immigration will only accept the original document.
Come flight day, still no envelope. So I took my chances and went to the airport with the scanned copy.
(Did that envelope ever turn up? Yes, a few weeks later my mom went to the post office. I had written my address incorrectly.)
Step 6:
Time To Fly
You’ve packed your bags, you have your animals things together, you have your documents, it’s time to go!
It’s recommended to get to the airport three-hours before boarding. When traveling with an animal, you’ll want to go even earlier than that (anywhere between 30 minutes and an hour).
When you get to the airport, you’re going to go straight to the pet services counter. Here they will print out your boarding pass and a tag that will go on your pet’s carrier. They will also ask about the required documents for your pet’s travel.
It’s fair to say I was freaking out a bit here regarding the paperwork. But when it was my turn at the counter, the staff worker simply asked “do you have all your paperwork”, I said “yes”, and then he tagged Noel’s carrier.
That was it.
So I cleared the US airport. Now I had to wait for what would happen in Spain.
After clearing pet services, you give your luggage to checked baggage and then make your way to security.
Since you’ll have your pet in a carrier, you’ll have to remove them when you put your carrier and carry-on on the belt. You’ll then walk through the metal detector with your pet.
Then you’ll wait at your gate, board your plane, get comfortable, and wait for take off.
Tip: ask the attendant at the gate if you can get on the flight first since you’re traveling with a pet. They’ll probably say yes. Mine did.
For the most part, Noel was amazing during the whole experience. She didn’t cry during the entire airport journey or eight-hour flight. She did have an accident halfway through the flight, in which I took her and the carrier to the bathroom to clean up. But essentially she just slept.
While sitting at the gate, I did try to give her some food or water, but she denied it.
I also took her to the doggie bathroom to see if she would use it. She didn’t.
Step 7:
Arriving at Your Destination
For me, Spanish arrival was as simple and straightforward as US departure.
We landed, got off the plane, and I stood in the immigration line just like everyone else.
When I went up to the counter, the officer stamped my passport and sent me on my way. No questions asked. He didn’t even notice I had Noel.
In hindsight, there probably was a service desk or something I should have gone to and claimed my cat. But after immigration, I was funneled straight to baggage claim and from there a “Welcome to Barcelona, Spain” sign. I didn’t explicitly see a pet service counter and I wasn’t going to question it, so I strutted out of the airport without any trouble.
Total Cost of Pet Flight Travel
| Vet Visits I had two; one to inform my vet of my travels and another for the health certification before flight. | $57.50 both trips Total: $115 |
| Documentation | |
| Rabies Vaccine | $35 |
| Health Certificate | $75 |
| USDA Paperwork | $38 |
| Plane Tickets | $125 each way Total: $250 |
| Flight Medication | $15 |
| Express Mail Envelope | $15 |
| Supplies | |
| Carrier | $45 |
| Harness | $13 |
| Pet Travel Bowl (collapsable) | $7 |
| TOTAL EXPENSES | $608 |
Supplies Needed for Your Pet During Flight Travel
Really, the only supply that I really needed was the cat carrier and harness.
I wanted a flexible airplane-friendly carrier with pockets.
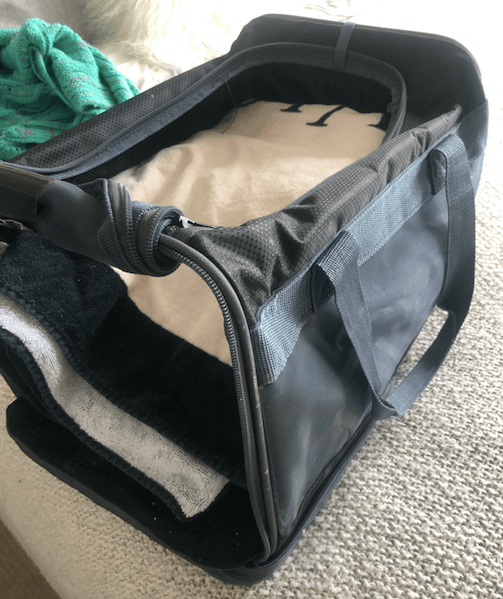
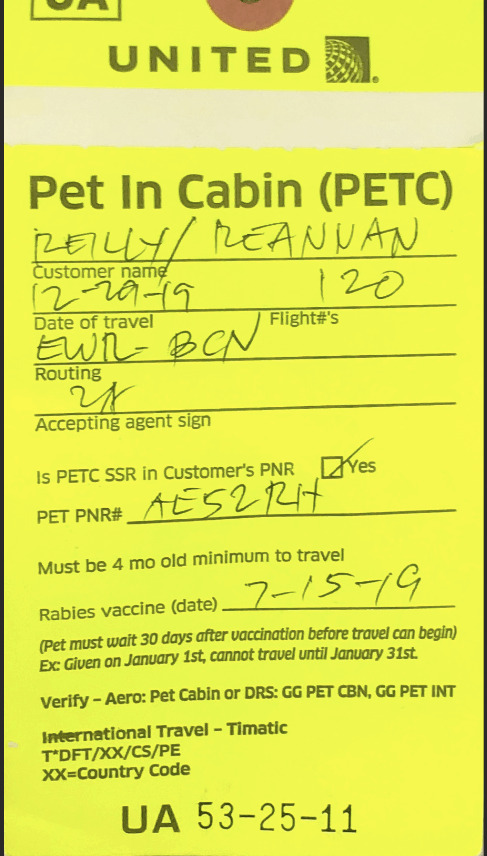
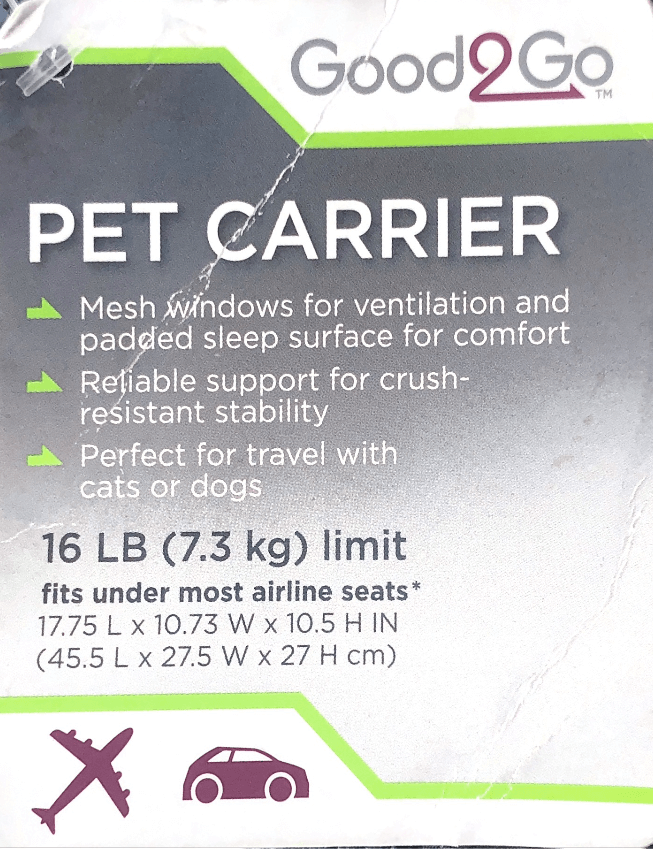
My carrier was from Good2Go, purchased at a PetCo.
It opened from both the front face as well as on top, this was beneficial for when I had to take Noel in and out of the carrier before baggage check. There is also a pocket on the rear face which I kept a pet-travel bowl, her leash, and some food.
The yellow slip was put on her carrier during flight check-in.
The slip to the right is a tag that was on the bag stating it “fits most airline seats”. I kept this tag on, in addition to a printed copy of the airlines carrier specifications (found on their website). I was having no business with the airline pulling a “it’s too big”.
Thank you for reading my post on how I certified my cat for international travel! This post is based off of my experience. Everyone’s pet travel circumstances will be different.
Any questions or comments you would like to send me privately? Contact me!
